
Quickstart
Signing up drops you into a six-step wizard. Each step is reversible and you can leave and come back — nothing is lost.
The six steps
- 1Workspace
Name the workspace, pick your region, and add your company's email domains and what you do. One workspace per person on sign-up; teammates join yours by invite.
- 2Company
Four questions — what your company does and how big your team is, how your teams are structured, your three most important customer accounts, and what should stay off-limits. Your teams become departments, the customers you name are watched for from the first sync, and the off-limits list applies from the start. Change your answers any time from Settings → Company profile, and your customers from Accounts → Manage companies.
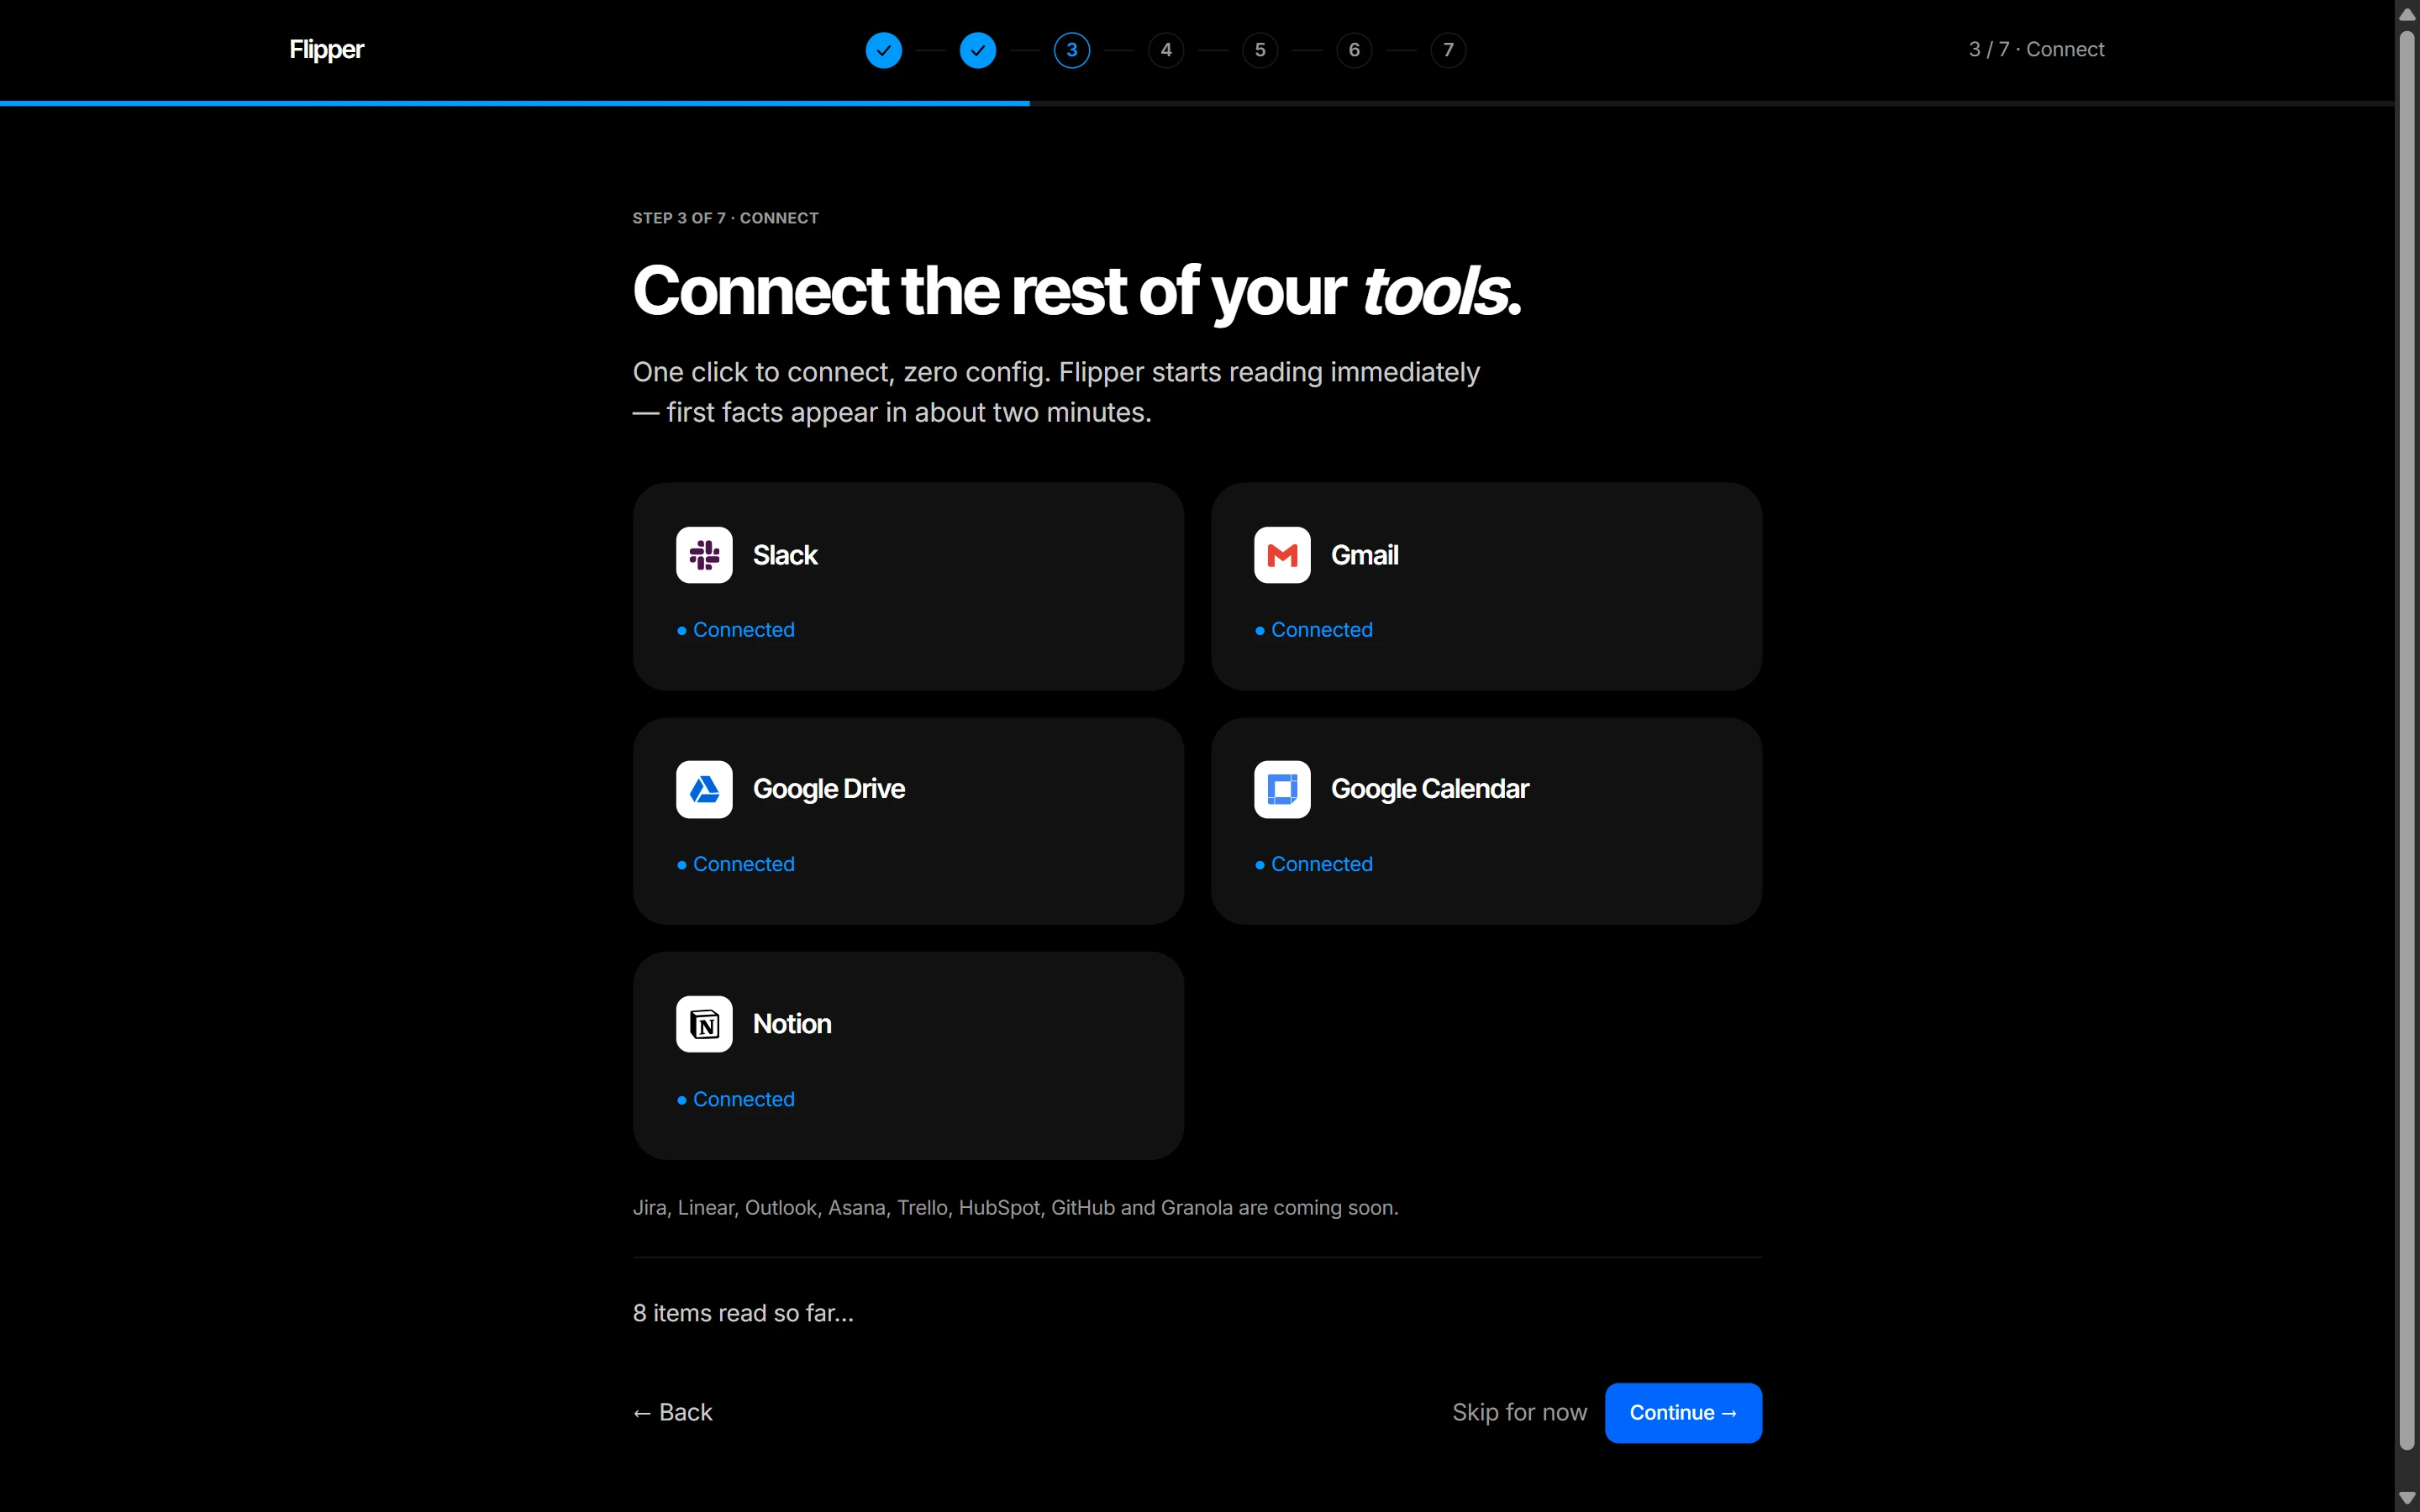
- 3Connect
Pick your sources. Gmail is per-person; every other connector is a shared workspace connection an owner or admin sets up once. Tell us which tools you use that Flipper AI doesn't connect yet.
- 4Accounts
Flipper AI lists the companies it found in your sources. Mark each one a customer, prospect, partner or vendor, or ignore it. Every customer becomes an account with its own brief; change them any time from Accounts → Manage companies.
- 5Team
Invite the people who work your accounts, like account managers, customer success and sales. They join as members and see everything your tools share with the team, apart from sensitive topics and other people's email. Make someone an admin later from Members.
- 6First brief
Open the brief of the customer Flipper AI knows most about. On the same page, add Flipper to Claude or ChatGPT in three steps, with nothing to install. Claude Code, Cursor and other tools on your computer are set up from Agents.
What happens in the background
The first sync reaches back 7 days on trial and 30 on paid plans, never a full-history backfill, so facts and account briefs fill in gradually rather than in one expensive burst. Notion is the one exception: it reads every page shared with it. After that every connector polls on one shared hourly cycle, and webhooks from Slack, Drive and Calendar bring changes in between polls — see How connectors work.
Verify it worked
Ask your agent something with a knowable answer: “What does Flipper AI know about the payments project?” If it answers with facts and cites sources, the loop is closed. If it answers generically, the client is not actually connected — see Troubleshooting.